How to Process the Receipt Import Function on Accfin Sky.
The following manual is for importing Receipts into the Debtors Module via the Receipt section, Import.
Step 1.
Click on Import Receipts:
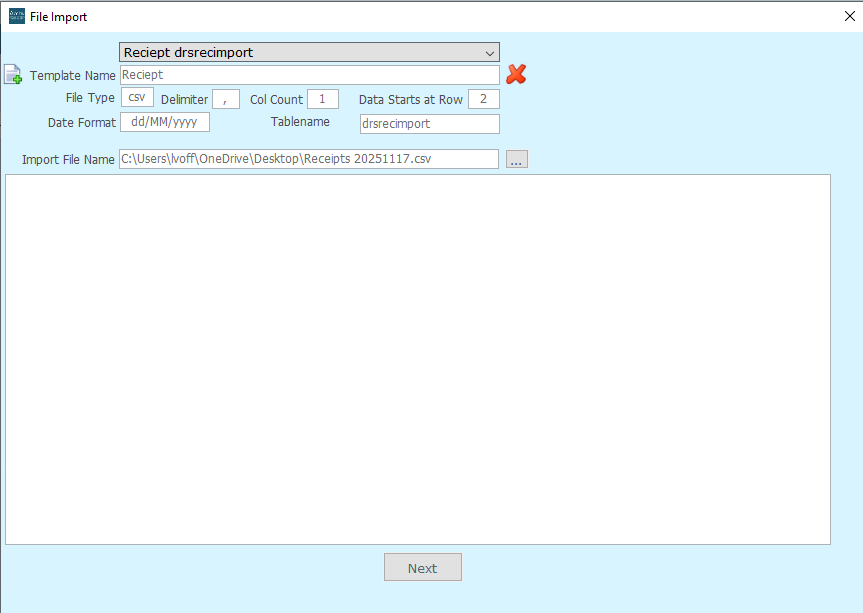
Step 2. Click on the 3 dots on the window which has populated and search for your file or statement which has been downloaded from the bank which you are importing, then ensure which row the data starts at in the and what deliminator you are using between fields comma colon etc:
Step 3.
Click on Next on the File Import Window and wait for the file to import and the screen to change. Patience may be needed, depending on how big the file is.
Step 4.
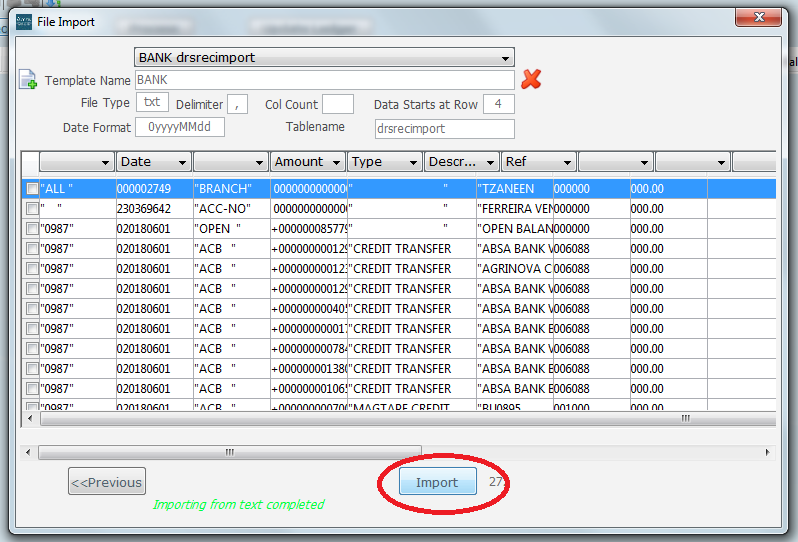
Click on Import (ringed below) and wait for the Receipts to be loaded back onto the main screen of the Import Page.
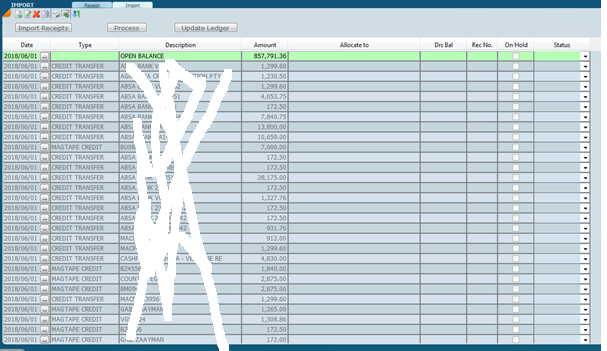
Once imported the main screen will look like this.
Step 5.
Click on Process and wait for the program to auto allocate the Receipts to the correct debtor accounts.
Step 6.
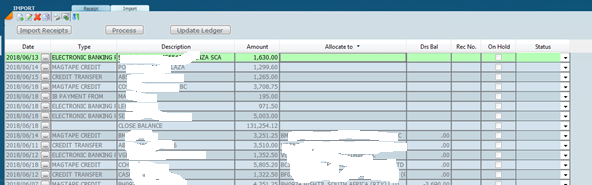
You can now Click on “Allocate To”, to batch your receipts and manually allocate receipts which have incorrect reference numbers.
The Allocate To Field has a drop down selection where you can type your client code to link the receipt to the code easily.
Step 7.
The Delete button has been greyed out as it is part of the framework of the page, so, to make sure you do not import anything which is not related to receipting, simply make sure those transactions/items have no reference allocation.
Step 8.
Update Ledger. This will update all Debtor accounts on the program for you.